Smart Plug Setup and Installation Guide
Step 1: Download & Install the Kasa App
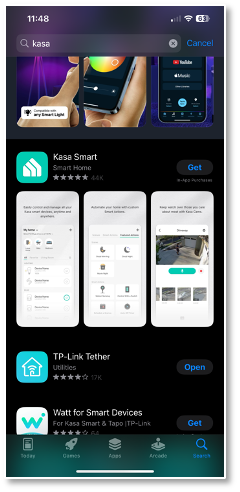
Download the Kasa Smart app from the Apple App Store or Google Play
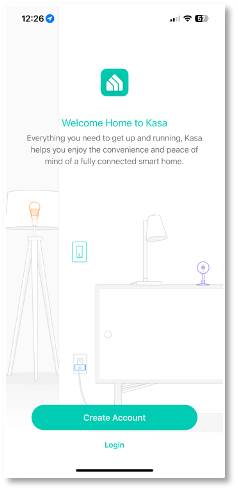
Create a new account in the Kasa App.
Please note: You can skip the step that asks you to “enable locations” as we are not using this switch based on the time of day. Click “Skip this step” in the upper right-hand corner.
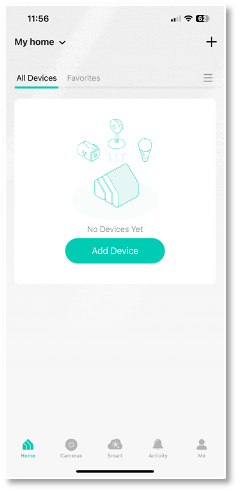
Now you can tap the “Add device” button in the Kasa app and select “Smart Plugs
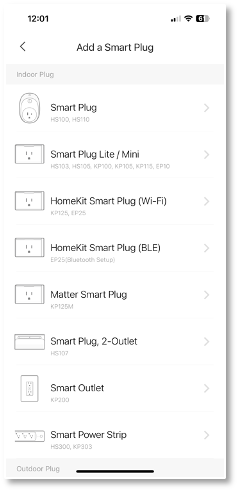
Followed by Selecting the “Smart Plug Lite / Mini”
Step 2: Connecting The Smart Plug To Wifi
Start by plugging in the smart plug into your outlet
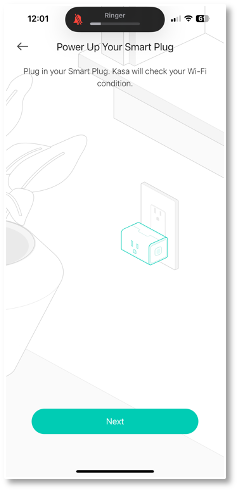
In the Kasa App, Click “Next”
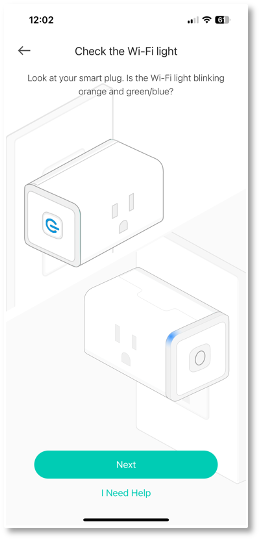
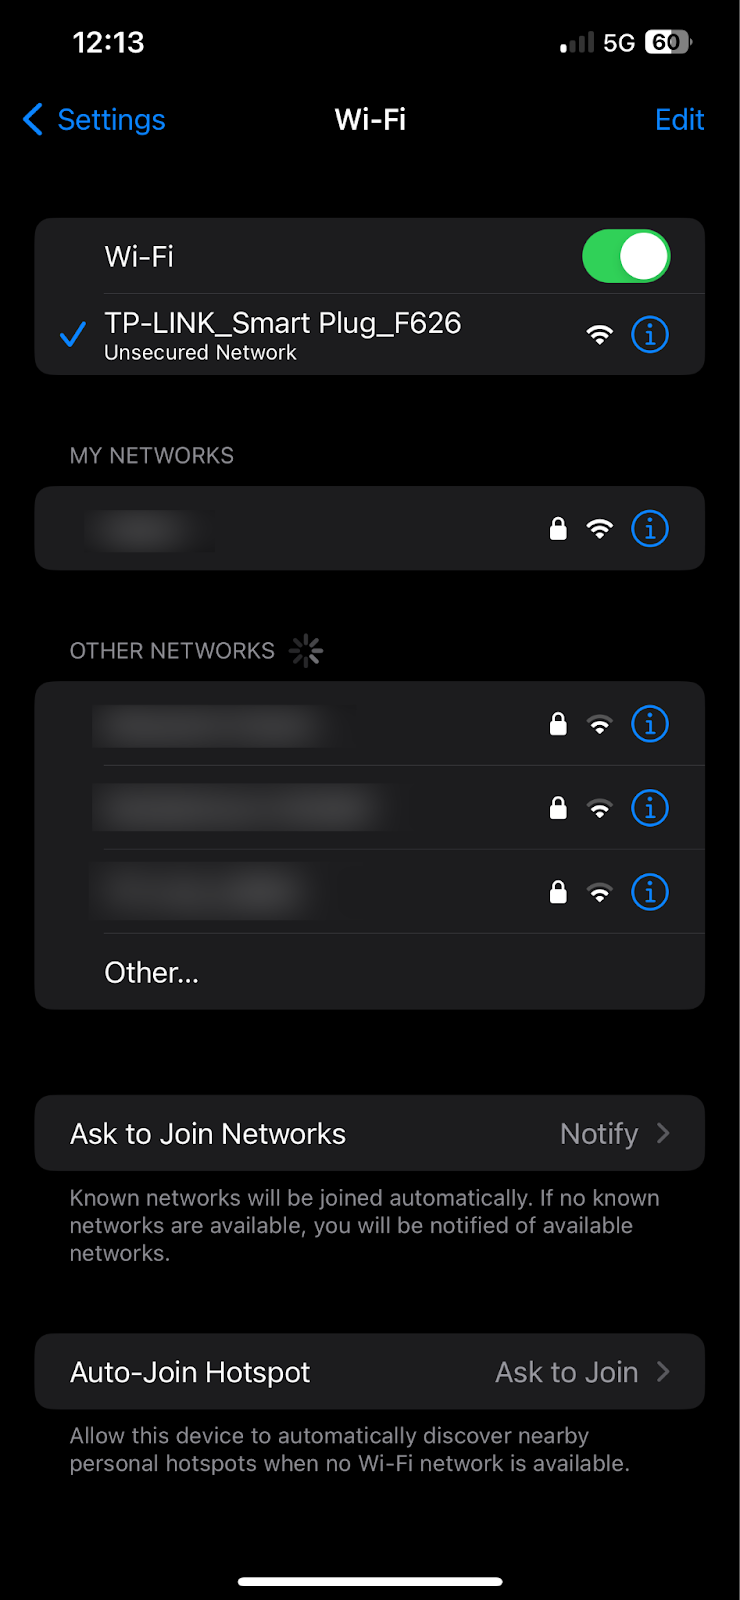
Now go to system preferences on your phone and select the WiFi with a name starting with “TP-LINK_Smart Plug_”
Go back to the Kasa app and click “I’m Already Connected.”
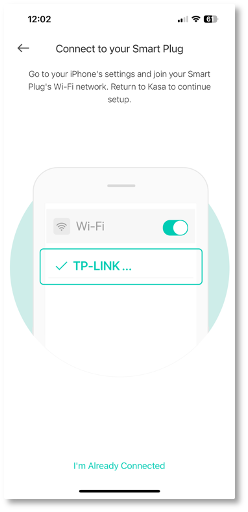
Please Note: The app will attempt to connect to the smart plug. It may take a few minutes to connect, so please be patient. If nothing happens, go back, and start the process over.
Next, choose your local WiFi network, and enter the password for the network.
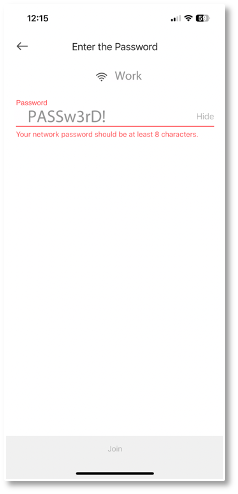
The app will now connect to the smart plug and update the WiFi information.
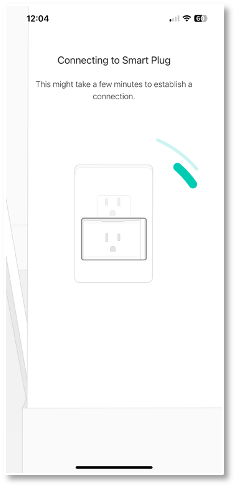
Step 3: Naming & Testing
Next, click on allow while using the app, followed by adding a unique name for the device. We suggest “Company Name_Smart Plug” or something that uniquely identifies that specific Hub and plug. If you have multiple devices, you don’t want to accidentally turn off the wrong hub!
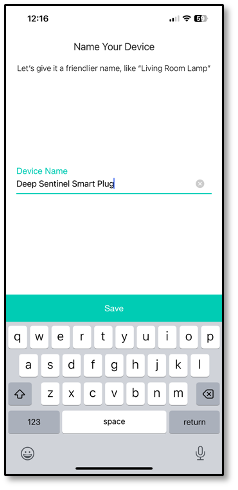
Choose an icon associated with the plug
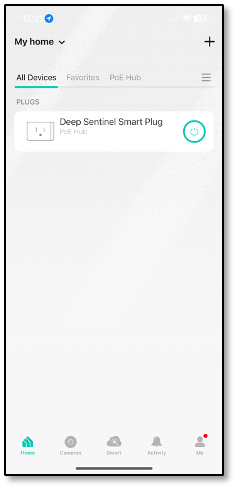
Click “Custom Location” & create a location Name. We suggest “PoE Hub”
That’s it for the app setup. You can now click on the power button to test the plugs functionality.
Step 4: Plug in Your Deep Sentinel Hub
Congratulations! You are all set! All that is left to do is plug the Deep Sentinel PoE Hub into the smart plug. You can now power cycle the hub as needed from any location.
Please note: You may be prompted for a firmware update. It’s always a good idea to update firmware as it becomes available.