Solar Charger Quick Start Guide
Position your Solar Charger
The amount of power the Solar Charger can produce is directly affected by how much sunlight the panel receives.
Weather conditions and dust/debris will also affect power generation.
To optimize performance, consider the following:
- Choose a location that gets the most sunlight throughout the year. Check for foliage or other items that may block the sun.
- In the northern hemisphere, the general rule for placement is to face true south (and in the southern hemisphere, true north).
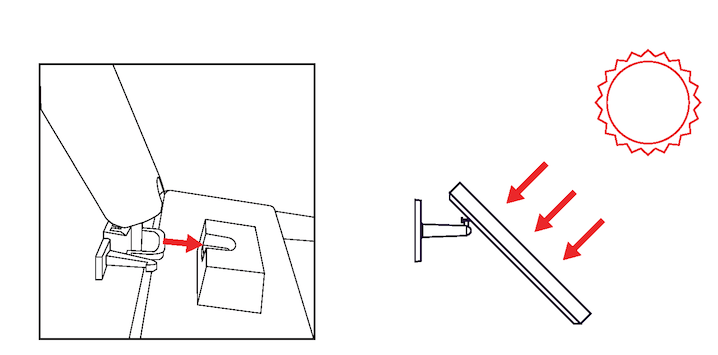
- Angle the Solar Charger to maximize energy production. The panel is most efficient when the sun's rays hit the surface as close to perpendicular as possible.
- Wipe the panel every few months to remove dust/debris that might have collected.

Setup your Solar Charger
- Select a sunny position close to your Deep Sentinel Camera.
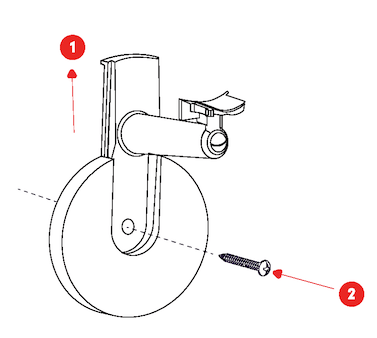
- Install the Mount. Slide it open to reveal the mounting hole. Use the included screw.
- Slide the Solar Charger onto the mount until it clicks into position. Notice the button that releases the Panel from the Mount in the event you need to remove it in the future.
- Adjust the angle of the Solar Charger on the mount to receive maximum sunlight.


Connect your Solar Charger
- Connect the Solar Charger micro USB connector to the Deep Sentinel USB Extreme Battery. Check that the battery is already fully charged for the best performance.
- If power was lost to the camera, press and release the power button on the back of the camera.
- Check the camera angle and protection zone using the Deep Sentinel app. Sometimes the position can shift when adding accessories or changing the battery.
- Secure the cable using the included cable clips. Install as many clips as are needed so the cable is not a hazard.
- Check that the camera lens is clean. Wipe off any dust or dirt with a soft lint-free cloth.
