The gateway device used by Sentinel Now is an excellent product produced by a company called Milesight. They have a wide range of security camera devices, as well as IoT devices and LoRa communications equipment. Their products are targeted at IT professionals and system integrators, but we’ve done most of the heavy lifting when it comes to integration. That said there are some critical setup concerns that must be covered to ensure reliable operation.
Setting Up Your Gateway
The instructions provided by Milesight do a great job of outlining the physical installation requirements. The gateway device should be connected to the network via ethernet, and we expect that it’ll will be powered by that ethernet as well, but it can be powered by USB-C with a wall adapter as well. The device includes a surface mounting plate, which creates a clean installation. The antenna for the gateway should be securely screwed to the weighted base, and the brass SMA connector should be connected firmly to the gateway. The LoRa communication standard is long range an robust, but you should still place the antenna away from RF interference where possible. A wireless router or a microwave may emit some amount of electromagnetic interference that should be avoided.
Most critically, the gateway should be connected via ethernet to the same network as the Deep Sentinel hub, and the two should be able to communicate via that LAN.
Configuring The Gateway
The Deep Sentinel hub will do most of the configuration work, but it can’t configure the IP addressing. It is absolutely critical that the networking be configured correctly or the device may not work when you need it to. The Deep Sentinel hub communicates with the gateway by IP address, so the gateway must have a statically assigned IP address. Thankfully, the gateway device’s GUI interface make this configuration very straightforward. Accessing the GUI can be done in a number of ways, which are outlined in the manual.
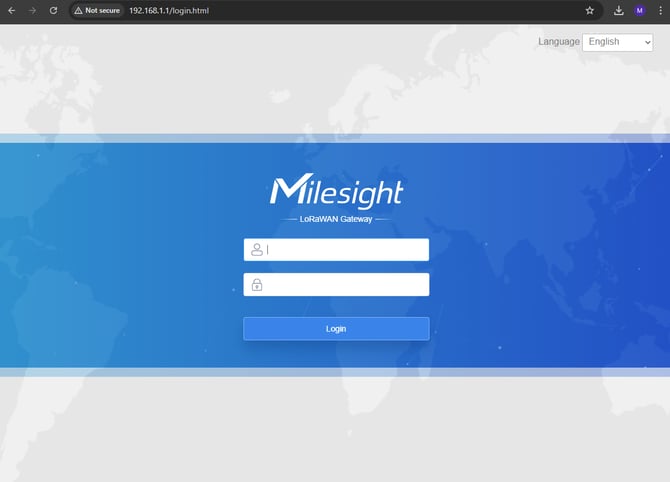
The easiest method by far is to connect to the gateway’s hosted wireless network. Once the gateway is powered on, it will begin to broadcast a wireless network called Gateway_XXXXXX, where the X characters are an identifier for that gateway. Any wifi-equipped computer or smartphone can connect to that network. The wifi password is iotpassword. After the laptop or mobile device has connected to that network, simply open a browser and navigate to http://192.168.1.1/ to access the Milesight configuration GUI.
Alternatively, the gateway comes with a static IP of 192.168.23.150 for its ethernet interface. The quick start guide included by Milesight contains detailed instructions as to how to configure a PC to access that IP address. Once you’ve followed those instructions, the Milesight GUI should be accessible at http://192.168.23.150/
Once you’ve reached the GUI, you’ll need to enter the default user name of ‘admin’ and password of ‘password’ to proceed.
Once you’ve logged in, you’ll likely be presented with a configuration form. Skip entering any information- the hub will configure what’s required during the onboarding process.
The goal will be to configure a static IP address, which only takes a few clicks.
-
From the left navigation, select “Network”, then “Interface”. “Port” should be selected in the top menu.
-
For “Connection Type” change “Static IP” to “DHCP Client”, then click “Save & Apply”.
-
This allows the gateway to get a normal DHCP address from the network’s DHCP server. If you already know the addressing details, you could enter them manually, but this eliminates the potential for conflict.

-
-
From the left navigation, select “Status”, then “Network” from the top menu. Make note of the IP Address, Netmask, Gateway, and DNS values as you’ll need them for the static IP configuration.

-
From the left navigation, select “Network”, then “Interface”. “Port” should be selected in the top menu.
-
Change “Connection Type” to “Static IP” and enter the values from Step 3, then click “Save & Apply”

-
The gateway is now addressable on the LAN and the onboarding process can be started from the mobile app. The gateway’s administrative GUI should be accessible via the IP address configured as it’s static IP address. In the screenshot above, 192.168.44.64.
- Please make sure this static IP address is not assigned to any other devices, you should also set it up as a DHCP Reservation on the Router's interface.
- You are now able to onboard the Sentinel Now hub in the app. For more information, see How To Add Sentinel Now Gateway And Button In The App
Troubleshooting
-
The most common failure mode is incorrect network setup. Ensure that a PC on the same network as the hub can ping both the hub and the gateway. Both devices should respond to ICMP requests.
-
In cases where, during setup, the gateway’s GUI cannot be accessed, it might be appropriate to perform a factory reset of the device. To do so, remove the four Philips head screws from the front cover and pop the cover off from the tab near the RJ45 port. While the gateway is fully powered on, press and hold the black button for at least 5 seconds. The “system” LED with flash rapidly. Replace the cover.

-
In cases where the button won’t pair to the gateway or the button is being moved to another gateway, the button will require a factory reset. To perform a reset, pry the back off of the button from the indentation along the bottom edge. This will expose the battery, and a small hole in the center of the gray plastic back. Using a long, thin object, press the button inside of the hole for at least ten seconds. Replace the cover.
